‘Curing’, or ‘firing’ as it is sometimes referred to, is an important step that is often overlooked. By curing you ensure that the clay can withstand the changes in heat caused by regular use and cold weather. The process can be time-consuming so we recommend putting aside an afternoon, preferably when the weather is good.
Instructions
Step 1
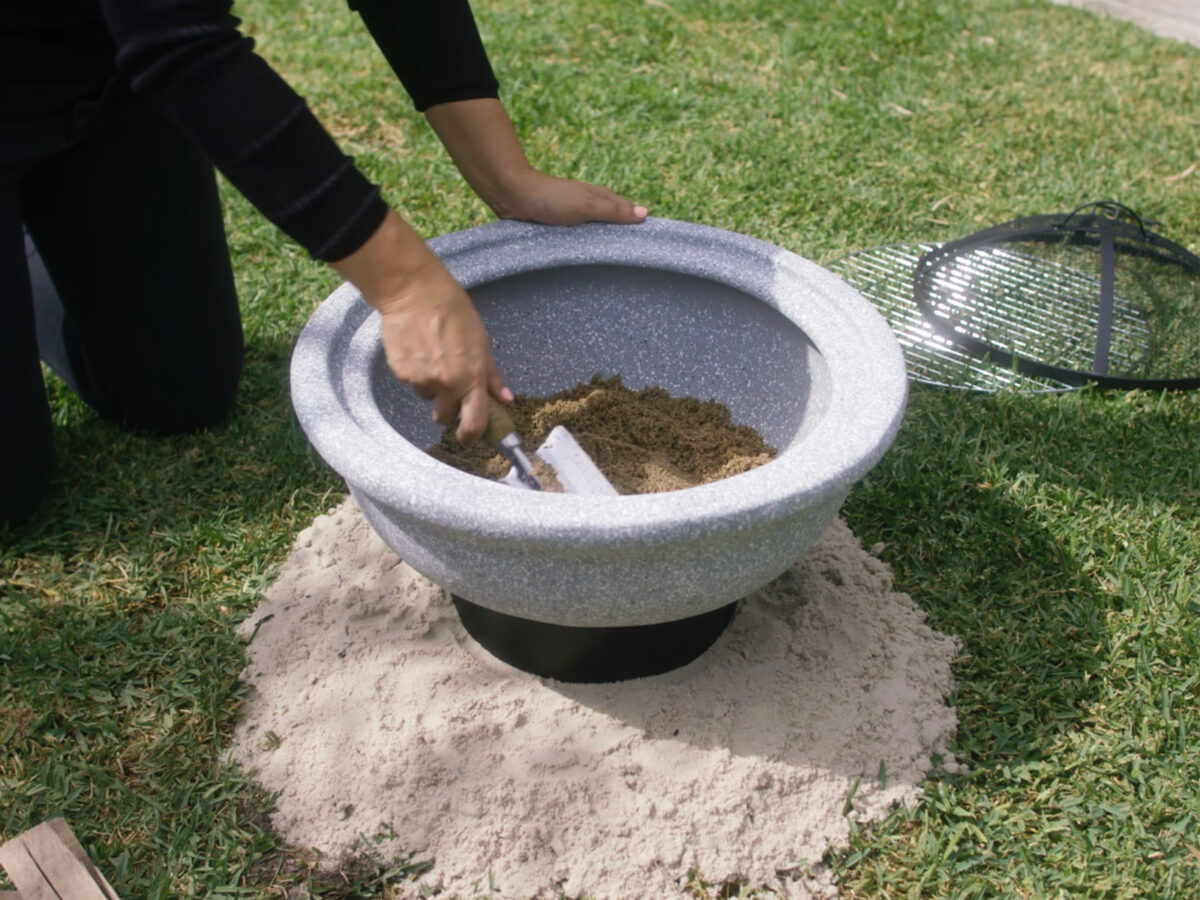
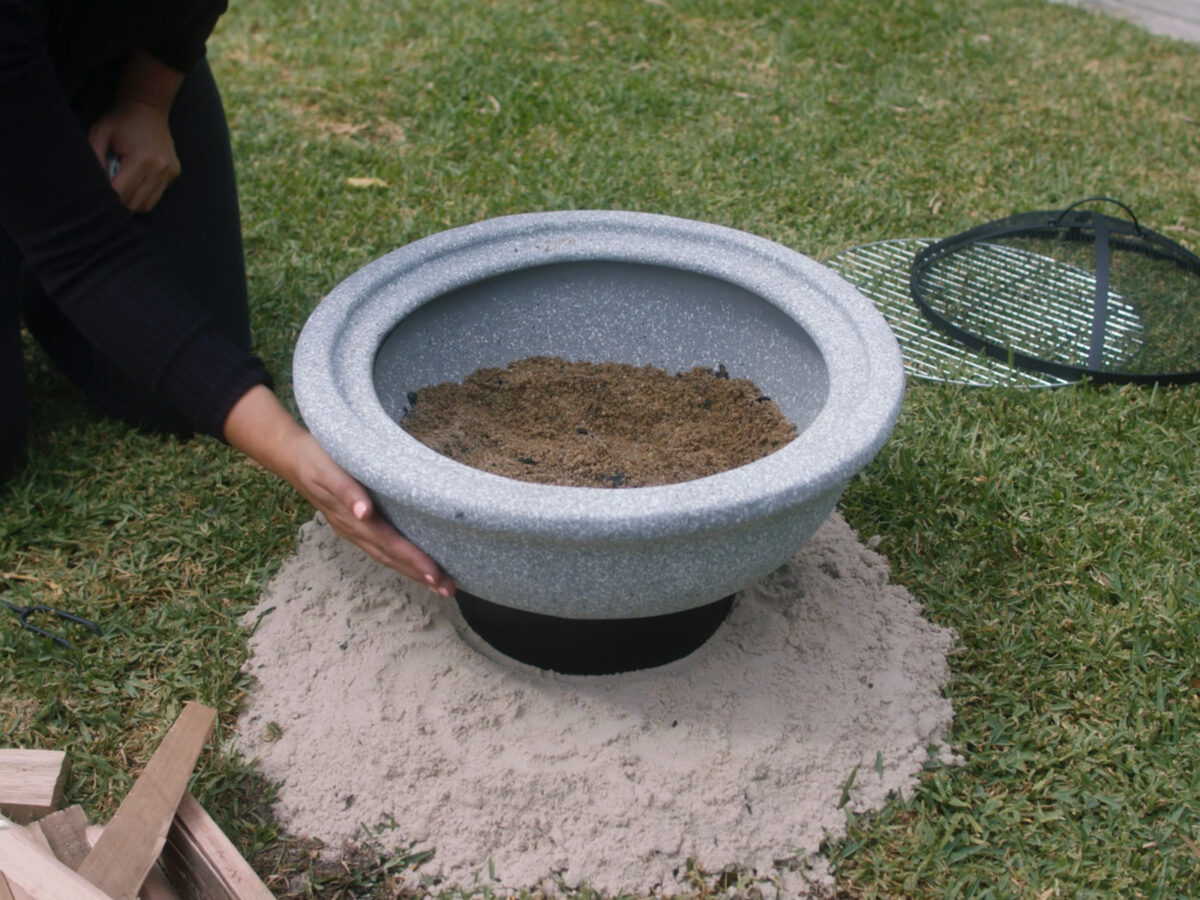
Prepare your fire pit base for curing
First you must fill the fire pit with sand, 2-3 inches from the base of the fire pit. This limits the flame contact with fire pit bowl for the first few fires whilst you heat during the curing process.
Step 2
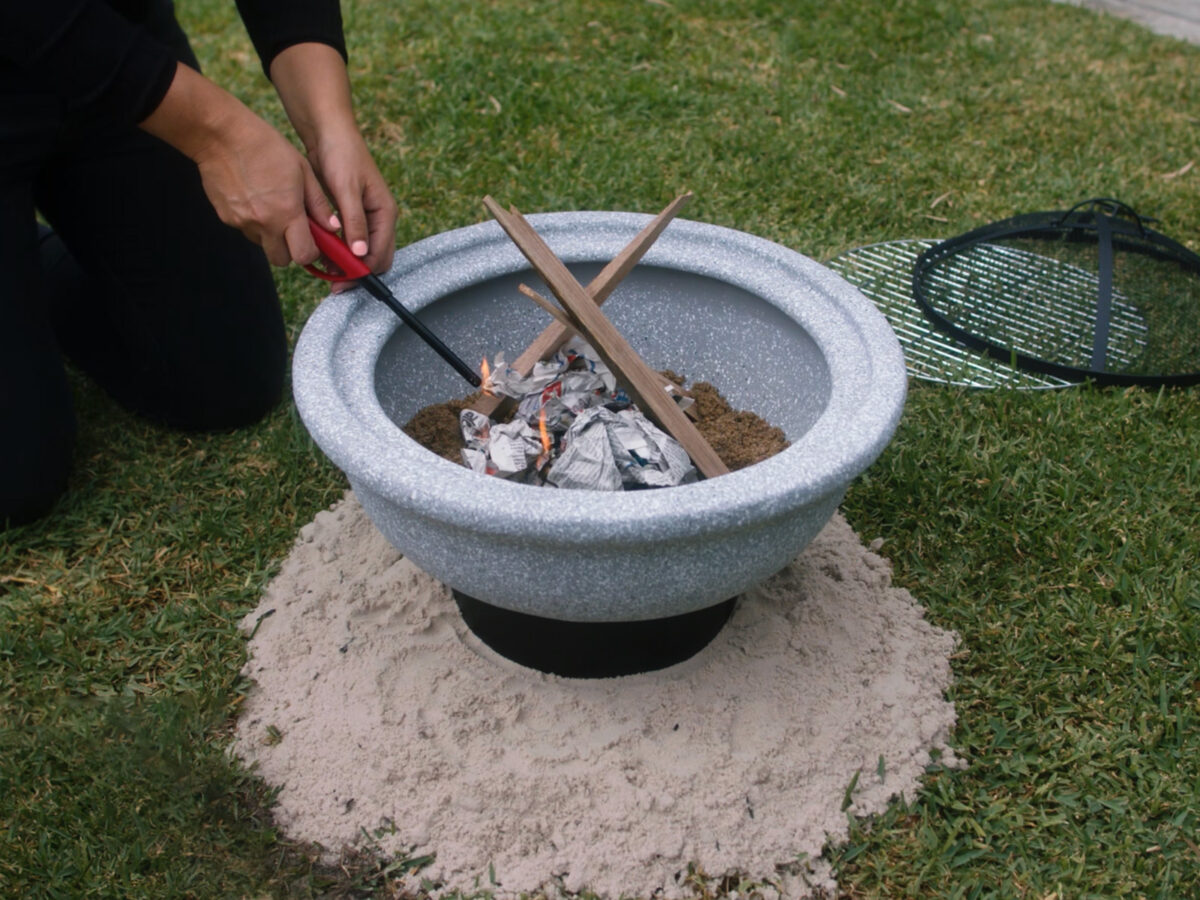
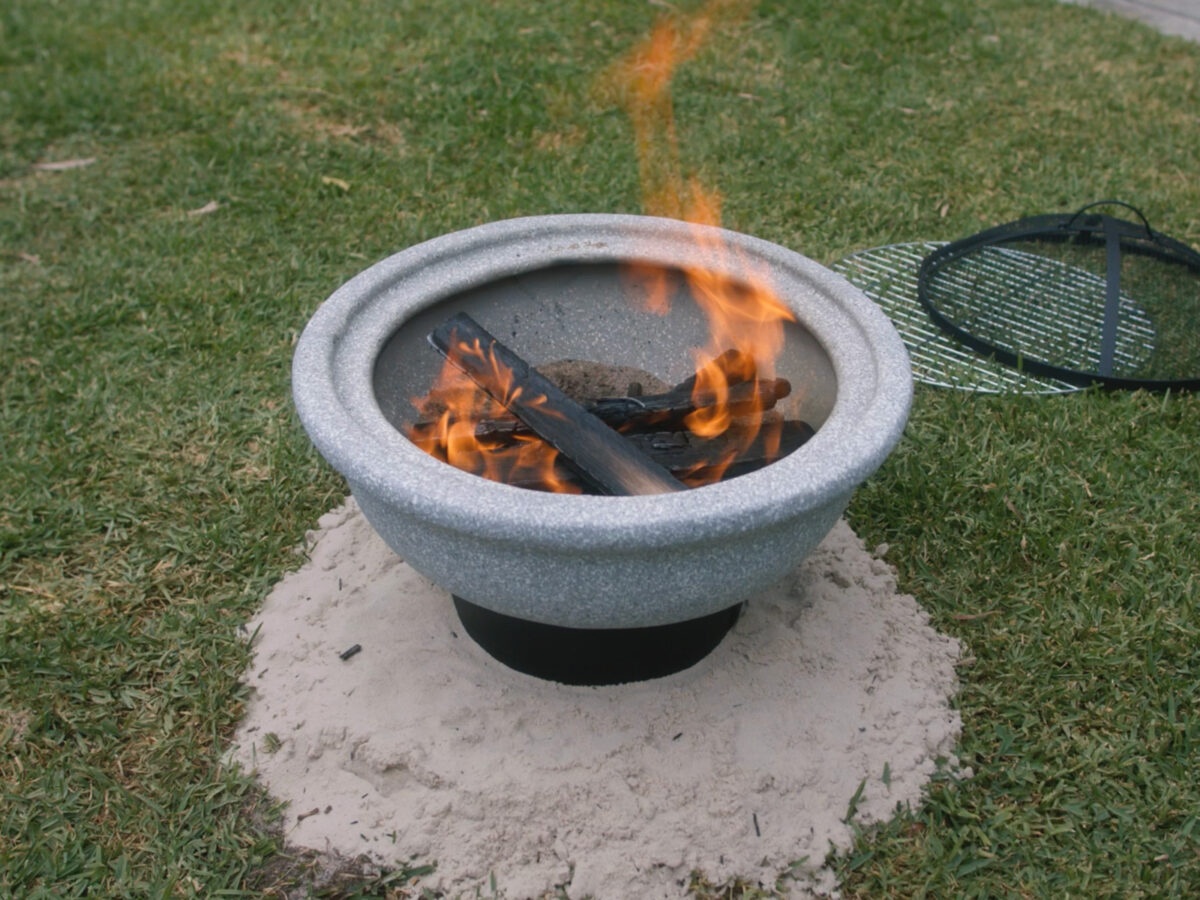
Light the first fire, starting small
With kindling and paper, light a small fire on top of the sand. Carefully position the fire so it’s set in the middle of the sand and try to ensure that the flames do not come into too much contact with the edge of the bowl. Leave this to go out naturally after 5 minutes or so.
Step 3
Next, allow the fire pit to cool.
Keep in mind, this may take a while as one of the reasons that clay fire pits are such great outdoor heaters is that clay has the ability to hold heat. Remember this after any larger fire and be careful not to touch the fire pit until it has cooled completely. Empty the fire pit of any ash or unburnt material.
Step 4
Repeat, increasing the size and heat of the fire
Repeat stages one to three again, each time making the fire progressively larger. Add kindling and pieces of wood and allow the fires to burn out naturally as before. We would recommend repeating this process 4/5 times to ensure the best results.